If the touch plates are placed at a convenient location, we do not require to move from our place to turn on and off the device. And the important feature of this circuit is that you will not get any electrical shock which we sometimes get while using the normal switches, even though we are using touch plates. As mentioned earlier, we have designed this circuit using a 555 Timer IC. The other important components are a relay module and some touch plates (we will show you how to make the touch plates used in this project).
Circuit Diagram
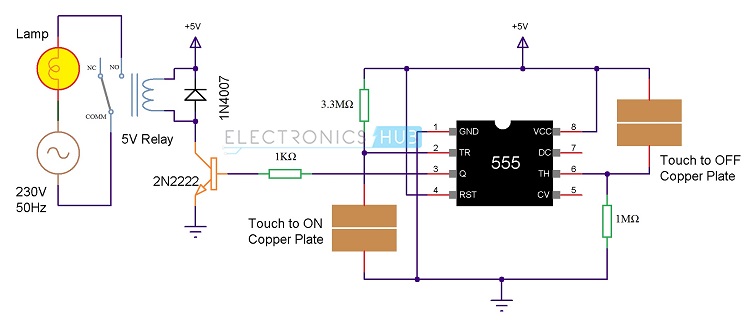
The circuit diagram for the touch ON and OFF switch circuit is shown in the below image.
Components Required
1 x 555 Timer IC 1 x 3.3 MΩ Resistor (1/4 Watt) 1 x 1 MΩ Resistor (1/4 Watt) 1 x Bulb with holder (regular or CFL) 1 x 5V Relay Module (if relay module is not available, then you need the following components) 1 x 5V Relay 1 x 2N2222 NPN Transistor 1 x 1N4007 PN Junction Diode 1 x 1 KΩ Resistor (1/4 Watt)
How to make the Touch Sensor (Touch Plate)?
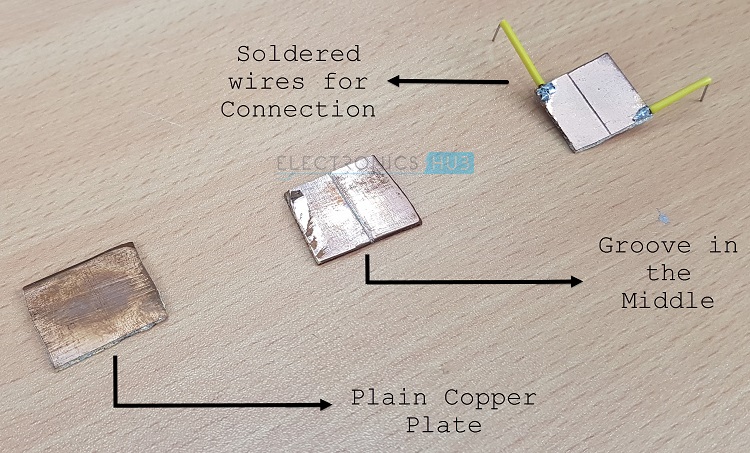
As the project is based on a Touch to ON and OFF the devices, Touch Plates or Touch Sensors are an important part of this project. We do not need costly or fancy touch sensors as we will show you how to make a simple touch plate for this project. In order to make the project, we need two small pieces of Copper clad boards. Here, we have taken two 2cm x 2cm Copper clad boards. Now, we have to make a narrow, deep cut along the centre of the boards so that we get two halves on the board without completely breaking it. This cut should completely separate the Copper on either ends. The following image will show the bare Copper Clad board and two boards that have a groove in the middle.
You can also use the touch plate from the old toys and doorbell. Generally touch pads are made of a small carbon block mounted in silicon rubber. When the button is pushed, this block comes in contact with the pad. Thus resistance between the two interleaved tracks is reduced. The pads which are available in market are protected from corrosion and have very good sensitivity to detect your finger response. When the finger is placed between the points, because of pressure and moisture in the finger resistance between these lines drops between 150k to 850k.
Circuit Design
The design of the Touch ON and OFF Switch circuit is very simple. First, the GND, VCC and RST pins of the 555 i.e. pins 1, 8 and 4 are connected to GND and 5V respectively. Pin 2 is pulled HIGH using a 3.3 MΩ Resistor and Pin 6 is pulled LOW using a 1 MΩ Resistor. Two touch plates are connected to pins 2 and 6 as shown in the circuit diagram. In case of the touch to ON plate, one end is connected to pin 2 and other end is connected to GND. Similarly, one end of the touch to OFF plate is connected to +5V and the other end is connected to Pin 6.
Principle behind the Project
The main principle behind the project lies in the basic functionality of the pins of 555 Timer. We know that 555 Timer has 8 pins namely GND (1), Trigger (2), Output (3), Reset (4), Control Voltage (5), Threshold (6), Discharge (7) and VCC (8). In this, Pins 2 and 6 are used in this project. Now, we see the basic working of these pins. When Pin 6 i.e. the Threshold pin is held LOW, and if Pin 2 i.e. the Trigger Pin is made LOW, the output of the 555 Timer IC will be HIGH and it stays there. This condition can be used to turn ON the appliance. Now consider Pin 2 is pulled HIGH and if Pin 6 is made HIGH, the output of the 555 Timer IC will be LOW and it stays there. This condition can be used in our project to turn OFF the load or device.
Working of the Project
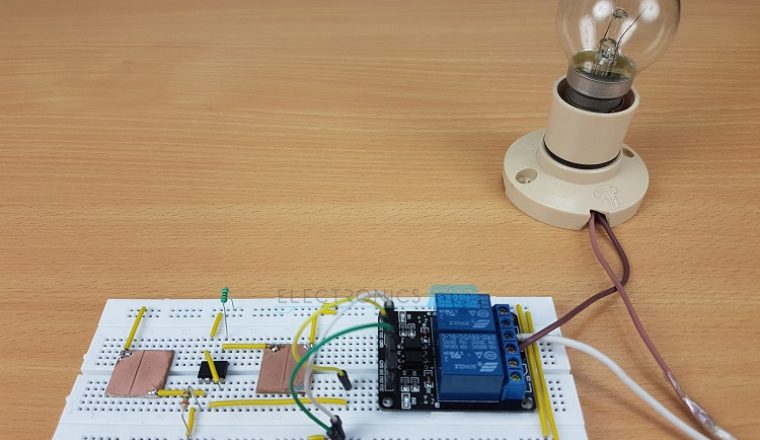
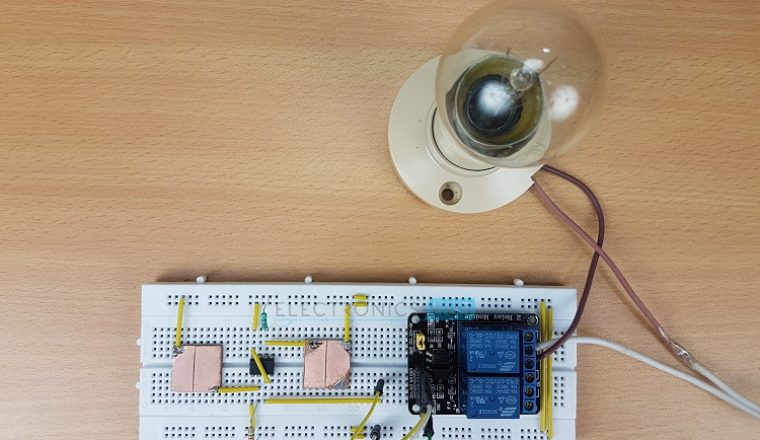
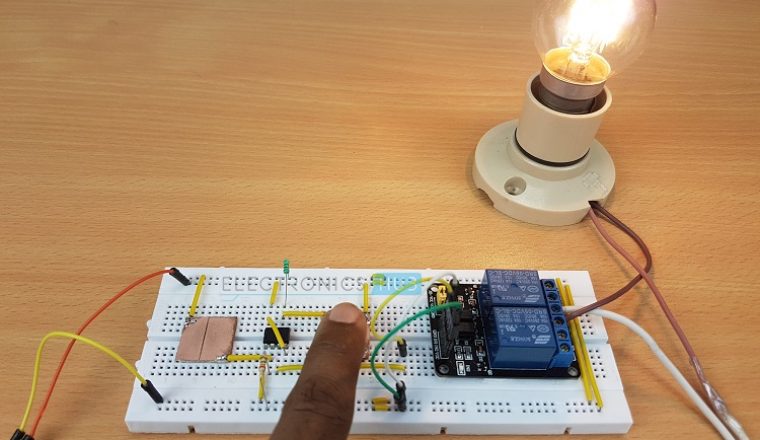
Connect the circuit as per the circuit diagram and apply the power supply. To turn “ON” the device, touch the “ON” plate with your finger and to turn OFF the device , touch the OFF plate. When power supply is applied to circuit, the device connected through the relay (we have connected a light bulb) remains OFF. Now, if we observe the circuit diagram, Pin 2 is pulled HIGH and Pin 6 is Pulled LOW. When we touch the ON plate, voltage at Pin 2 (Trigger Pin) of the 555 IC becomes LOW. As Pin 6 is already LOW, the output at Pin 3 becomes HIGH. Since this is connected to the Relay Module through the Transistor, the Transistor will be turned ON and it in turn activates the Relay. As a result, the device gets switched ON. At this point voltage at pin 6 is zero as it pulled LOW by default and voltage at Pin 2 is HIGH. Now, when you touch the OFF plate, the Pin 6 is supplied with +5V for a brief time and as a result, the output of the 555 Timer IC will become LOW. This will turn off the transistor and also the relay. Hence, the device will be switched OFF. This circuit works by turning a relay to “ON” state by pressing a button and when the button is pressed again device changes to “OFF”. It is working similar to a flip-flop.
Applications
A simple Touch to ON and Touch to OFF Switch Circuit is designed in this project using which, we can turn ON or OFF any device by simply touching the pads. By isolating the touch plates from the actual circuit, we can create a nice looking touch controls for our appliances.
Please find the following link: https://www.electronicshub.org/free-project-circuits/communication/ Comment * Name * Email * Website
Δ





![]()