But managing your iCloud account through your Windows PC is relatively simple. On a Windows PC, simply browse to iCloud.com to access your data. Also, Apple and Microsoft have worked together to build an iCloud Windows App. Using the iCloud Windows App, you can sync these two devices and view all of your photographs, documents, and bookmarks on your PC. You can also back up your Windows data to iCloud Drive. This guide will teach you how to install and use iCloud on Windows 11.
Features of iCloud for Windows 11
iCloud allows access to all your photos, videos, mail, and other information on your Windows 11 PC. Below are some features of iCloud for Windows 11:
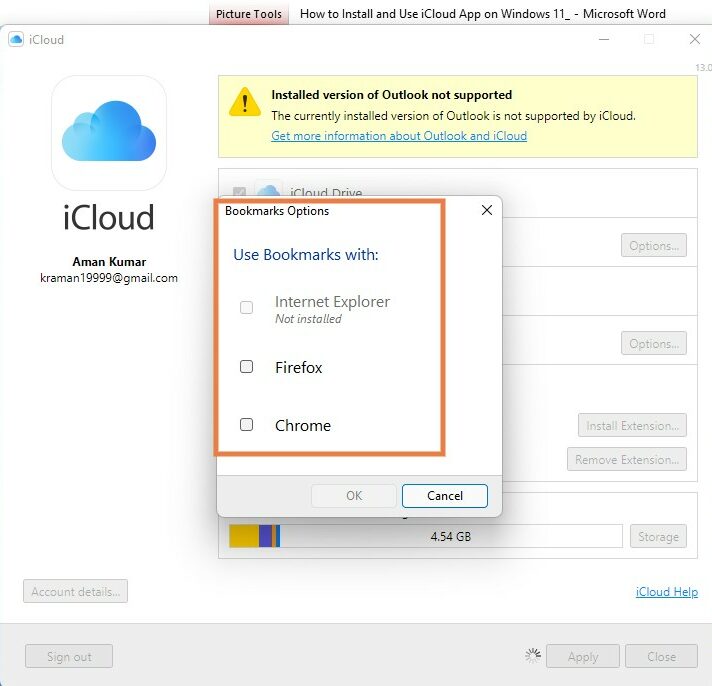
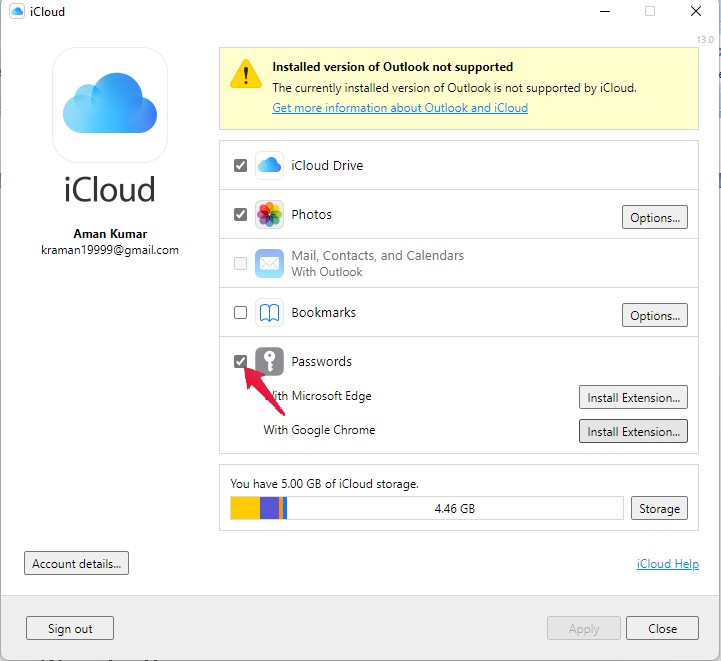
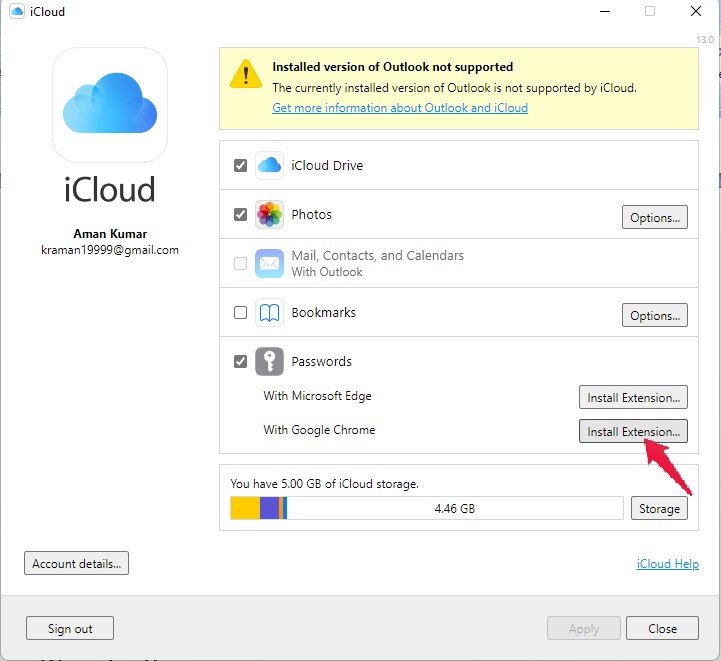
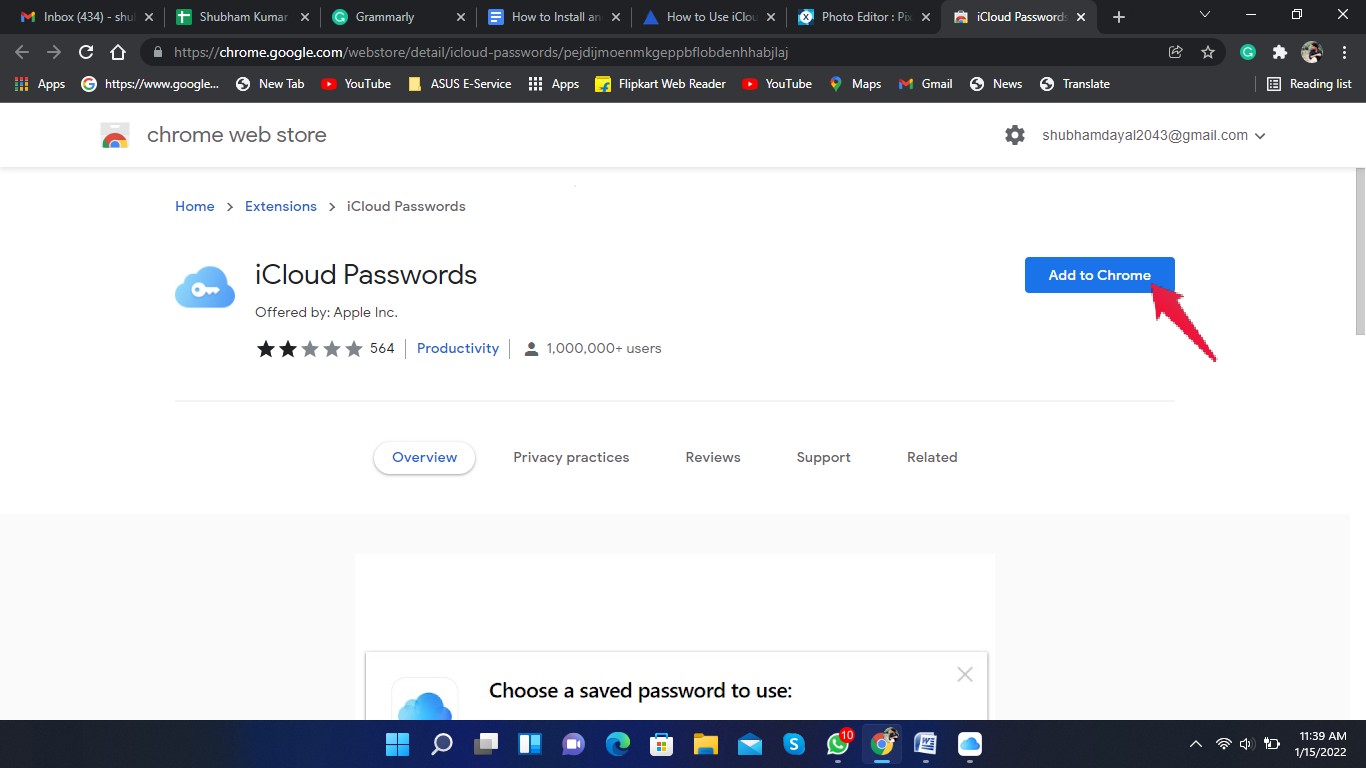
iCloud Photos – It allows you to keep your photos accessible across all your devices, create shared albums, and invite people to view or edit the albums.iCloud Drive – This allows you to safely store and access all your files and folders and share them with other people right from the file explorer.iCloud Passwords – Save, sync, and manage your passwords across all your devices and automatically enter them in Chrome or Edge using the iCloud Password Extension.iCloud Mail, Contacts, Calendars, and Bookmarks – You can also sync your mail, contacts, and calendars across all your devices and share them with other iCloud users.
Installing the iCloud App on Windows 11
Before you get started, check if iCloud is set up on your iPhone or iPad and if you have signed into iCloud using your Apple ID. After checking these parameters, you are ready to download the iCloud Windows App from the Microsoft Store. Follow the steps below to get your work done:
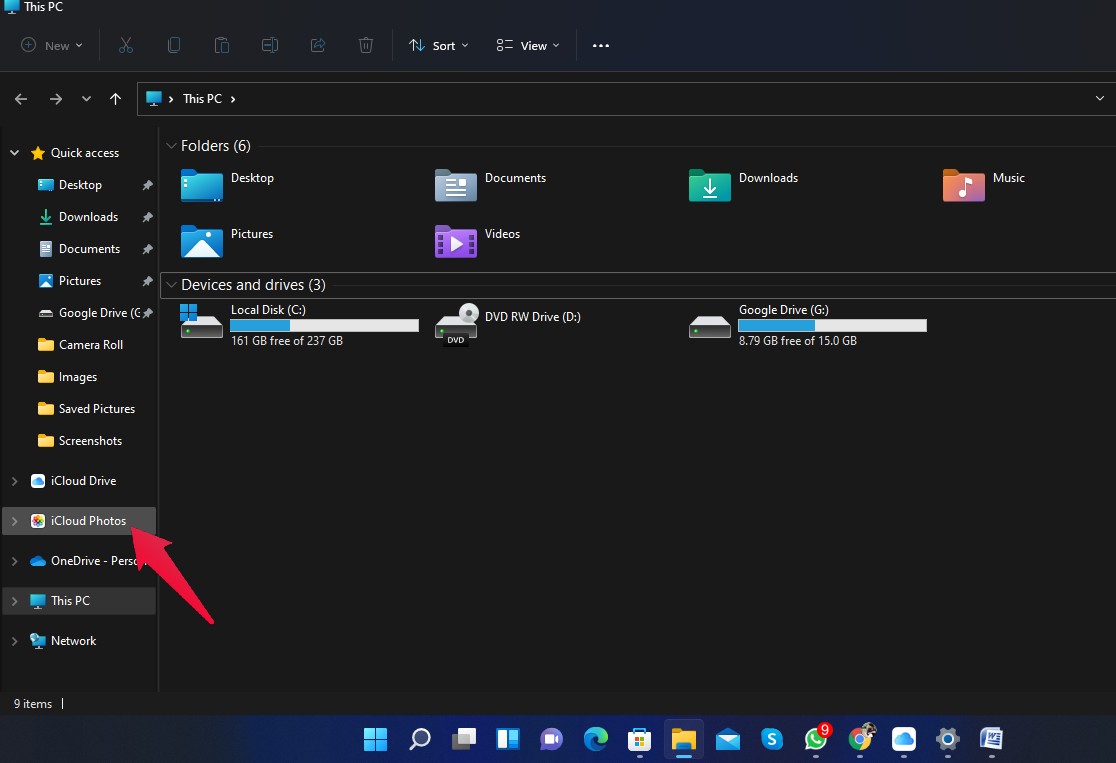
Using iCloud Photos
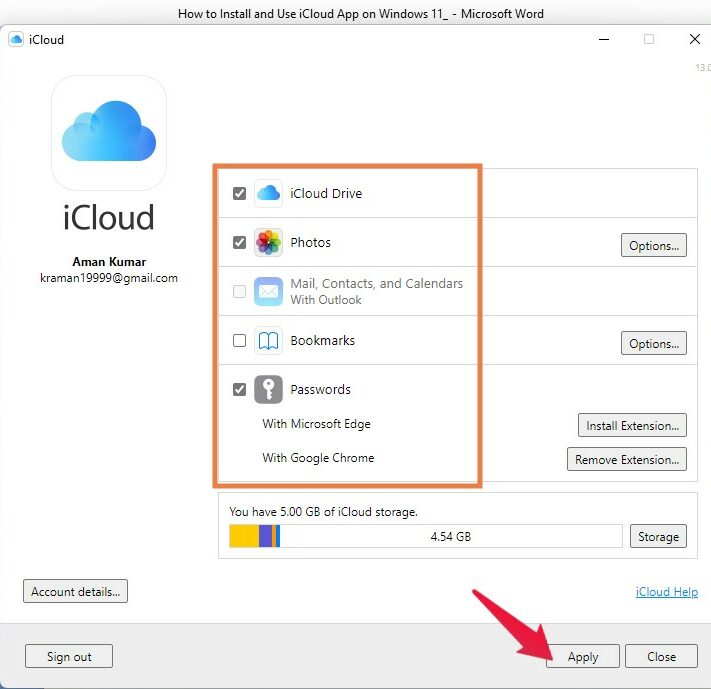
By selecting Photos while setting up iCloud, a folder named ‘iCloud photos’ will be created on “This PC.” Using the iCloud photos folder, you can upload photos and videos directly to the iCloud and access them across all your Apple devices.
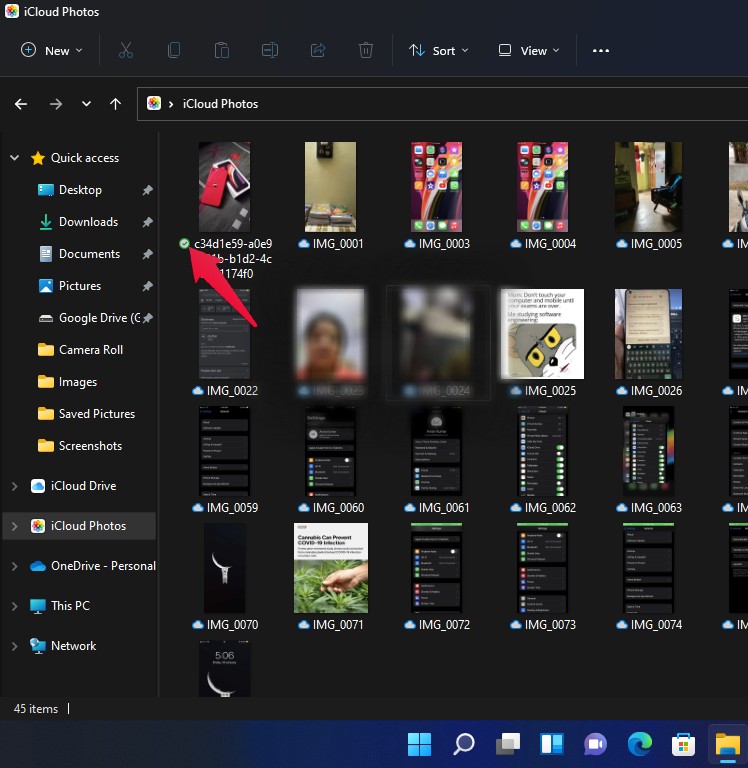
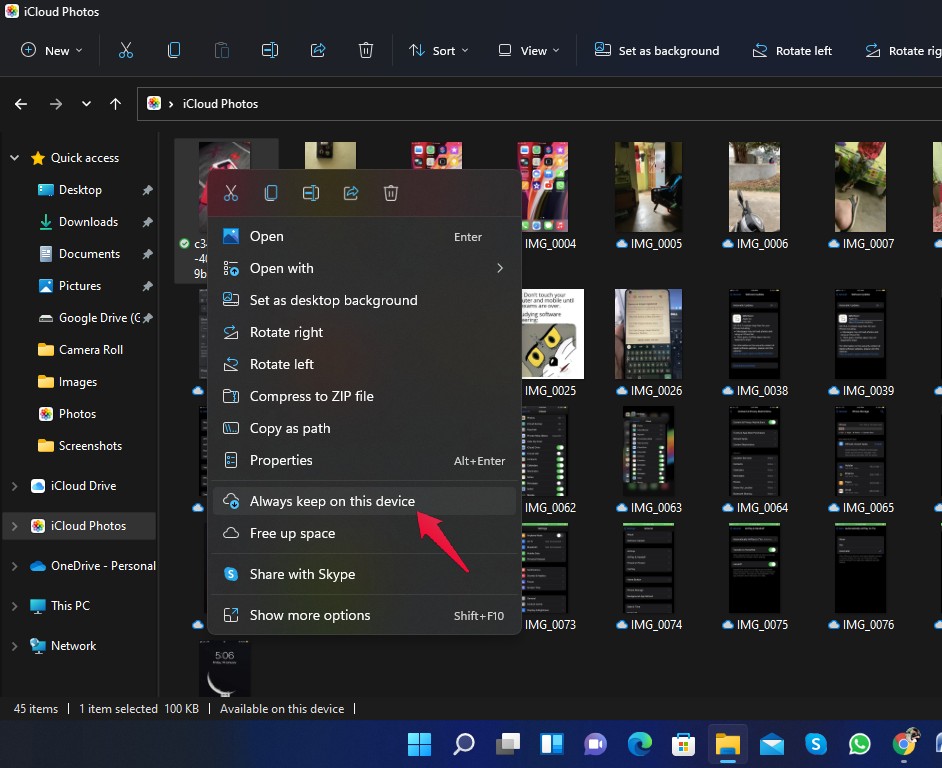
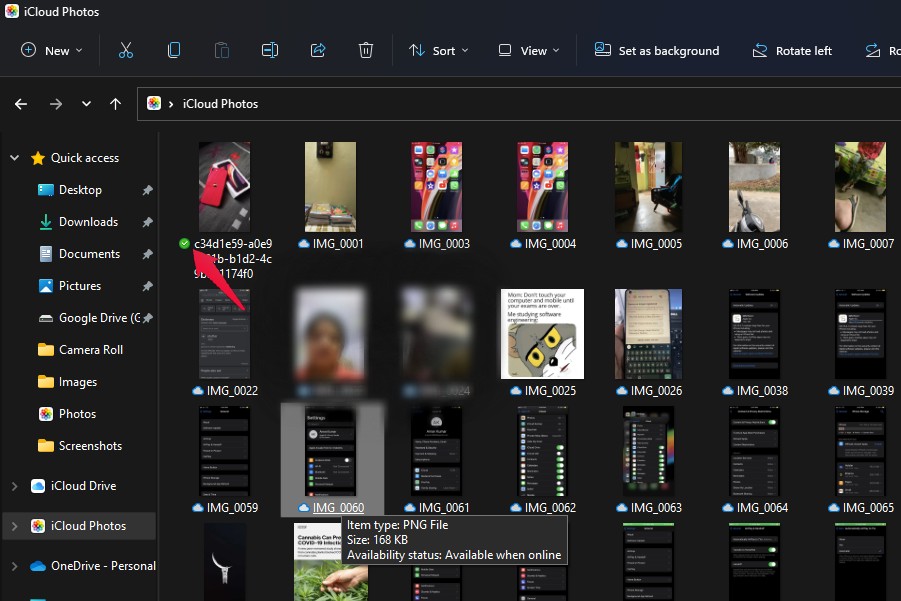
For uploading photos and videos to the iCloud photos folder from your PC, you can drag and drop the photos, and you will be able to access them from any of your Apple devices. All your photos and videos will also be available on icloud.com as well. Also, if you turn on iCloud Photos on all your Apple devices, all the media from your Apple devices will show on your Windows PC. You can then download the photos and videos on your Windows PC or access them while they are on the drive. If you want to download photos from iCloud and have access to them while you are offline, double-click on the photo thumbnail. The photos will have a tick icon with a white background that indicates that the media is saved to your PC and you can access them offline. But if you uninstall the iCloud App, the media will be lost.
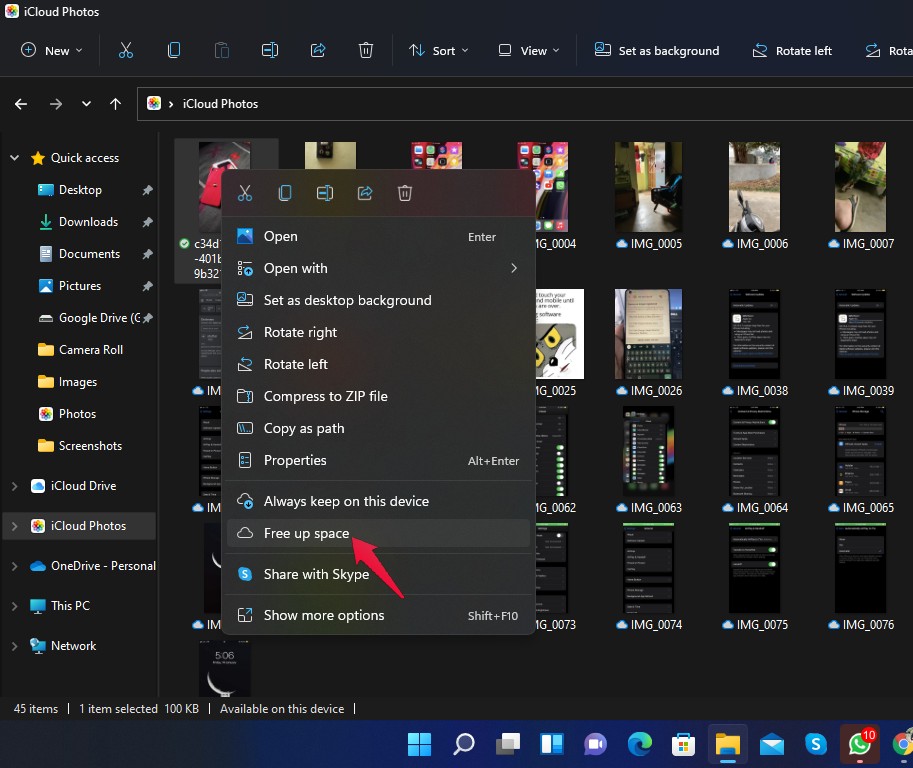
To permanently download the media file, iCloud for Windows also allows you to access downloaded photos permanently on your PC. Here is how you can do it: iCloud for Windows allows users to remove photos as downloads from their PC and save them directly to the cloud instead. Here is how you can do it:
Using Shared Albums
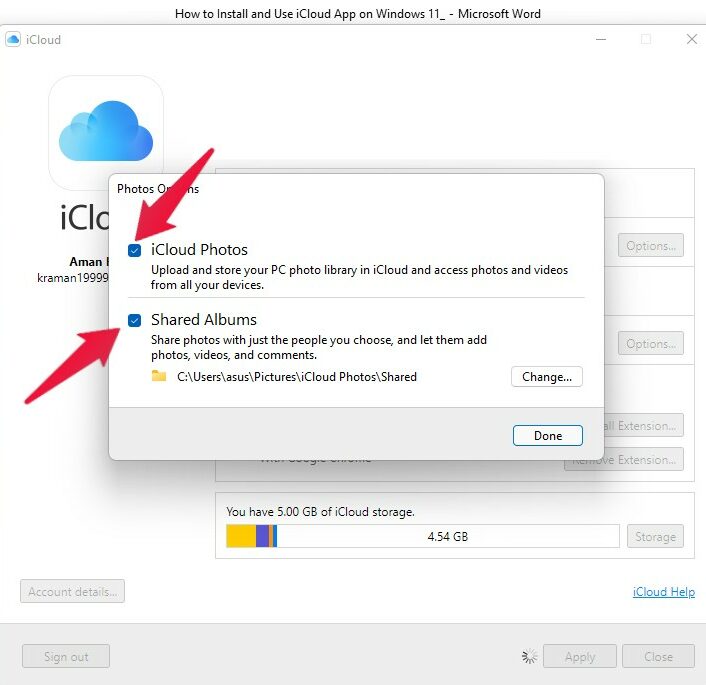
iCloud for Windows allows you to share folders. It automatically creates the shared album folder at the location C:\Users\Pictures\iCloud Photos\Shared if you don’t change the location during setup. You’ll need to enable the “shared photos” option on your Apple device for the photos and videos to be accessible on your PC. The Shared Albums folder allows you to view and share photos and videos with other people. Also, you can like and comment on the shared photos and videos. 5000 photos and videos can be shared in a shared album at once. If you exceed the limit, you will need to delete some old media. The media present in the shared folder doesn’t count toward your iCloud storage limit.
Using iCloud Drive
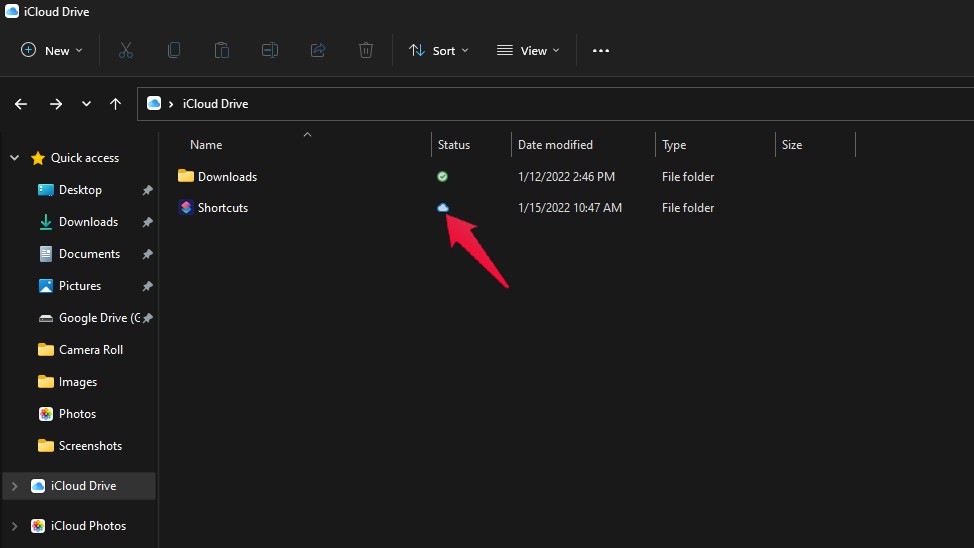
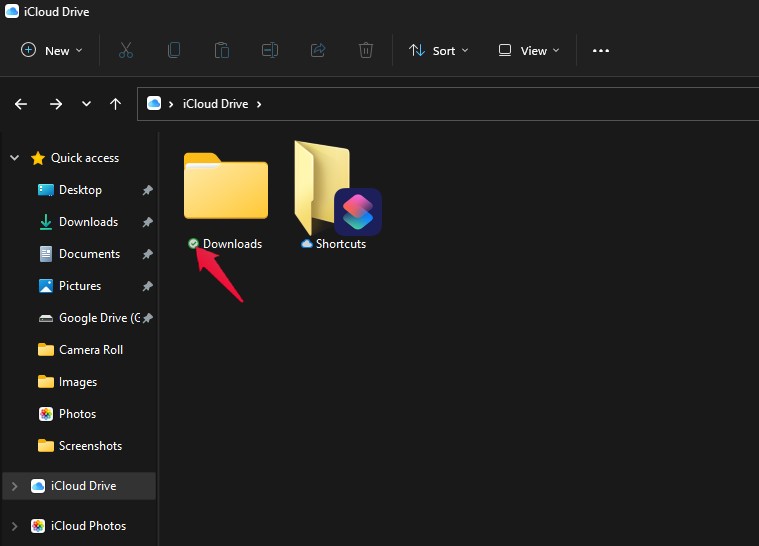
By turning on the iCloud drive, a folder will be created for it in the file explorer. In the iCloud Drive folder, all the documents will appear as if you had saved them on your Apple device. You can access and edit these documents on your PC. A cloud icon will also be present on the documents saved on the cloud.
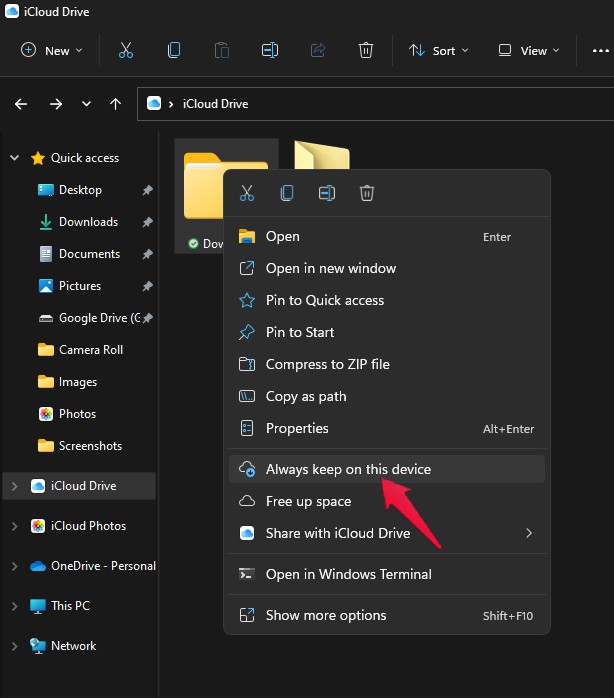
You can download your documents from the cloud and keep them on your device temporarily, permanently or send them back to the cloud. Here is how you can make a folder accessible on your device from the iCloud drive folder: All permanent files will have a green tick beside them. To keep them on your device permanently, follow these steps: You can also upload documents from your PC to iCloud. Any folders or files you create will appear automatically on all your Apple devices.
Sharing Folders with iCloud Drive
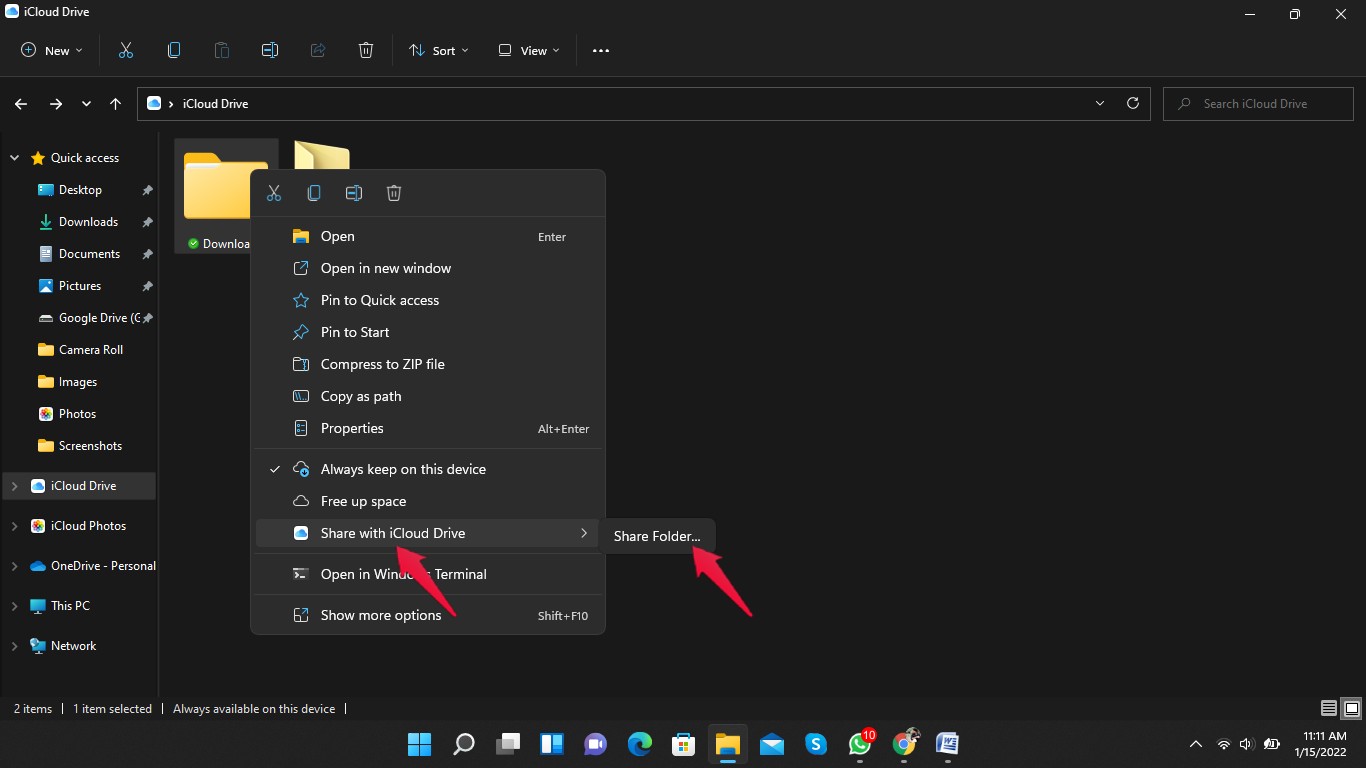
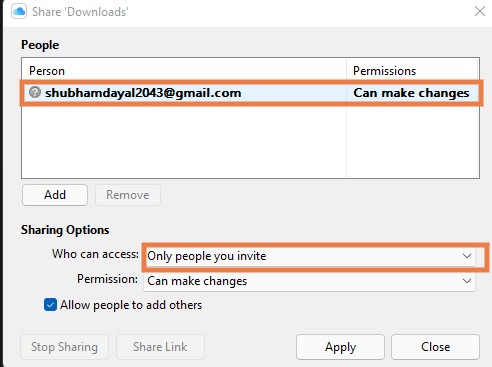
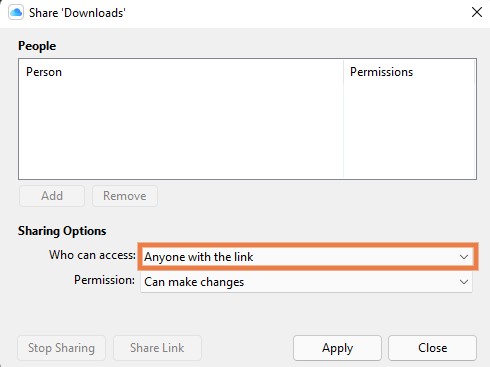
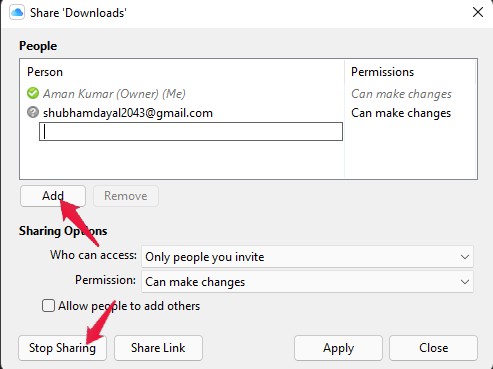
Using iCloud for Windows 11 allows you to share files and folders with other people who use it. It enables you to collaborate with other users who use iCloud on Windows 11. Here is how you can share an individual file or a folder containing a group of files:
Managing Shared Folders using iCloud Drive
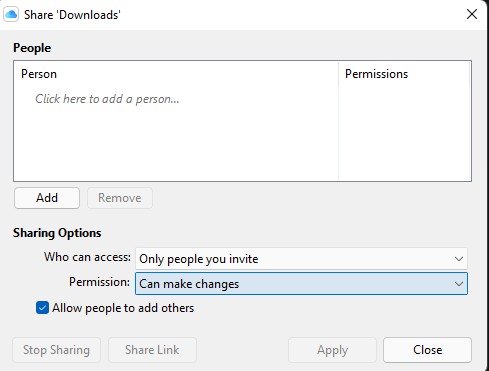
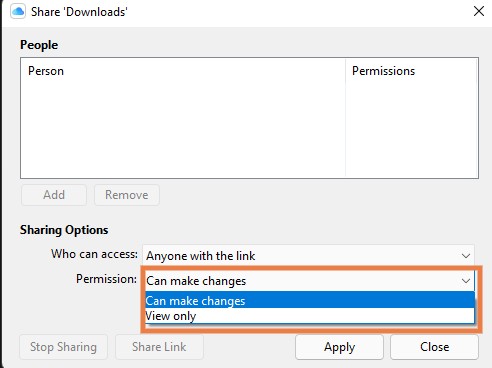
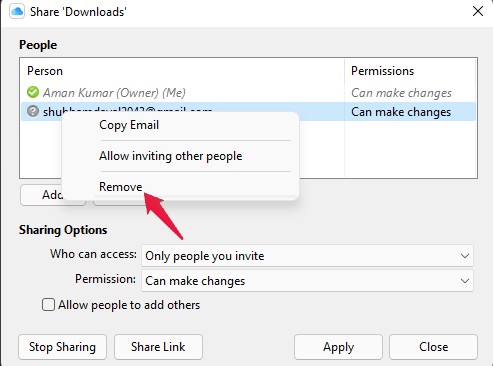
Any document you share using iCloud Drive will have a people icon under it that indicates their status. Once you share the document, you will be able to manage the people you are sharing it with, add or remove people, and modify permissions. Here is how you can manage a shared folder using an iCloud drive:
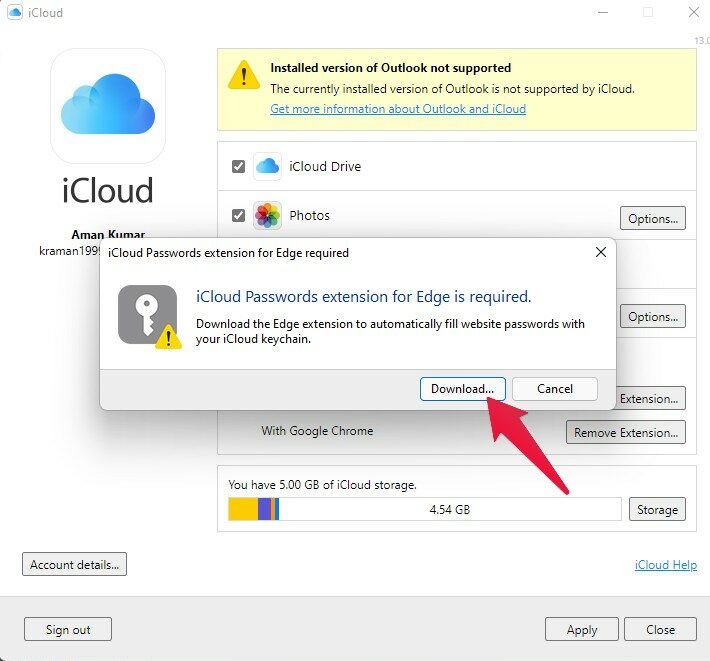
Using Passwords with iCloud
You will need to approve the iCloud password extension that you installed previously during the setup procedure using an Apple device before you can use it on your PC. Follow these steps to get the work done:
Wrapping Up
This was all about how you can install and use the iCloud app on Windows 11. iCloud for Windows 11 makes it easy for iOS users to sync data between the two devices. It will do most of your work for you once you set it up. iCloud even allows you to access your calendars, emails, and contacts. We hope you can install and use the iCloud app on Windows 11. Still, if you have any difficulties, feel free to contact us in the comments section.